Early Childhood Homeschooling Made Easy

Taking teaching and your child's future into your own hands.

St. Patrick’s Day crafts for Preschoolers

Since St. Patty’s Day is just around the corner, Kayla and I decided to do some Irish inspired craft projects over the weekend.  The first craft was a leprechaun.  I made a model leprechaun so she’d have an example of what I wanted her to do.  I cut out all the shapes for her, but she had to put him together, glue him, and put finishing touches on him.  We added a pot of gold to his hand, and she made a shamrock to put on his body.  Then she decorated him with stickers when she was all done.  I think she did a pretty good job.

20150314_212527

Next, we made a shamrock/clover fan.  I cut out 3 good size heart shapes using green paper, and got a green popsicle stick.  Kayla glued it all together so that it would look like a big shamrock.  She used foam stickers to decorate it.

20150314_213510

20150314_215215

They were quick and easy crafts that kept her busy for a good 30 minutes.  While making the crafts, we talked about leprechauns, shamrocks, rainbows, and pots of gold.  My little Irish dancer had fun working on these St. Patrick’s Day crafts.  Too bad we didn’t plan ahead and make some homemade shamrock shakes.  Maybe next year.  🙂

Happy St. Patrick’s Day!

At her Irish Dancing Recital last month.

At her Irish Dancing Recital last month.

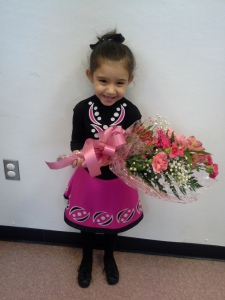
The beautiful flowers daddy gave her after her Irish dancing recital.

The beautiful flowers daddy gave her after her Irish dancing recital.

2 Comments »

Christmas Craft Projects

We’ve done numerous craft and baking projects this holiday season.  They are fun to do, they keep my daughter busy, and they can be a good learning tool.

Here are some of the projects we’ve done for Christmas.

Marshmallow Snowman

IMG_9414 IMG_9415 IMG_9417

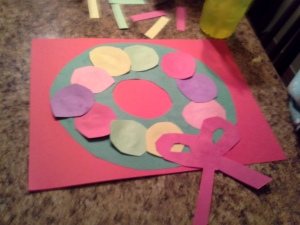
Paper Wreath

20141217_195836 20141217_195843 20141217_195854

Paper Christmas Tree

20141217_194709 20141217_195146 20141217_195159 20141217_195915

Holiday Coloring Pages (We’ve done a lot, but these were from her dance studio.)

20141217_202142

Chocolate Pretzel Snacks with Holiday Sprinkles

20141215_154728 20141215_160127 20141215_162835

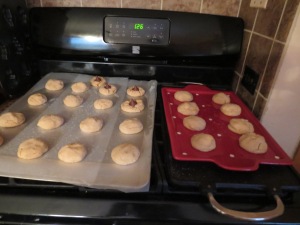
Baking Cookies

IMG_9275 IMG_9278 IMG_9280 IMG_9282 IMG_928720141219_133523

20141219_131920 20141219_131631

IMG_9290 IMG_9296 20141215_185722

Salt Dough Ornaments

IMG_9411 IMG_9413

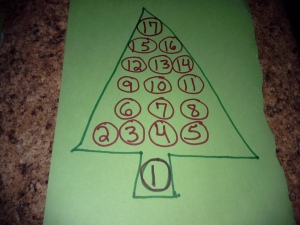
Christmas Countdown Chart

20141208_183543

Wishing everyone a Merry Christmas!

Please feel free to share what types of Christmas crafts and baking projects you do with your kids.

Leave a comment »

Beaded Salt Dough Ornaments

IMG_9403

This was the first year we made salt dough ornaments.  For the most part, they came out pretty good.  We’re happy with them, and my daughter was very proud of what we did.  Yesterday, we made some beaded salt dough ornaments.  We didn’t do anything all that special to make them.  My daughter rolled out the dough is circles/ovals, then put beads in them.  We used different colored dough for each ornament.  At first sight, these ornaments can look unimpressive.  But…The ornaments look great when put in front of a light.  They catch the light from the tree, and the beads kind of glow.  Very pretty.

IMG_9369 IMG_9374 IMG_9379 IMG_9381

Once we added the varnish to them and hung them on the tree, we could see their true beauty.  I think these are my daughter’s favorite salt dough ornaments.  We might end up hanging them in our window during the summer like sun-catchers.

IMG_9402

IMG_9418

* See previous post for salt dough recipe.

Leave a comment »

Salt Dough Ornaments and Cinnamon Salt Dough Ornaments

IMG_9357

When I was little, my best friend’s mom made beautiful salt dough ornaments to sell at craft shows, and to sell to friends and neighbors.  I remember us having various ornaments that she made, and this beautiful fake blueberry pie that looked exactly like a real pie.  I was always impressed that she could make this stuff in her own kitchen.  One year, she even let my friend and me make some ornaments with the salt dough, just for fun.  It was something I always wanted to do on my own when I grew up.

Fast forward over 20 years, and my friend is no longer with us (she was killed by a drunk driver when we were in college), but I still remember the wonderful salt dough ornaments that her mom used to make.  I send her mom and dad a Christmas card every year.  This year when I was working on my Christmas cards, I decided that I would try my hand at making some salt dough ornaments with my daughter.  Kayla is 4 years old now, so she is old enough to do a lot of it on her own.  I know my ornaments won’t be quite like my friend’s mom’s ornaments, but they can still be special.

My daughter and I started out by using a very basic salt dough recipe.  (There are tons of slightly different recipes on the internet, but this one worked for us.)

Salt Dough Recipe

2 cups Flour

1 cup salt

1/2 cup water, and add more water as needed

We mixed the ingredients together in a bowl and kneaded it until it was the right consistency.  Keep adding water little by little until the dough is the way you want it.  If it gets too watery…sticky…add a little more flour.

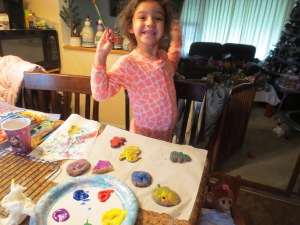
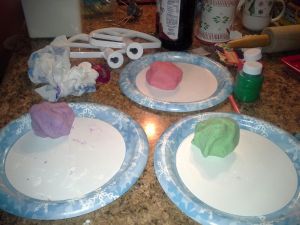
Once the dough was just right, we divided out the dough.  Some of it we kept as is, and the rest we used to make colored dough.  We used Crayola kid’s paint to color the dough.  We made red dough, green dough, blue dough, and purple dough.  You can do whatever colors you want.  We were trying to stick to Christmas colors, and we also did purple so we could make a special ornament for one of our friends.  We put a dab of paint on a ball of dough, then kneaded the paint into the dough until it was the color we wanted.
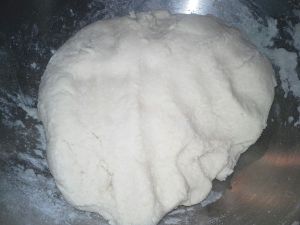
Plain salt dough

Plain salt dough

Green dough

Green dough

Kayla working on making red dough.
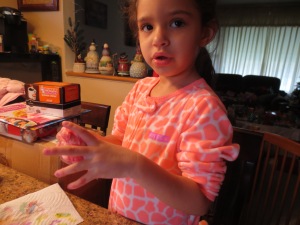
Kayla working on making red dough.

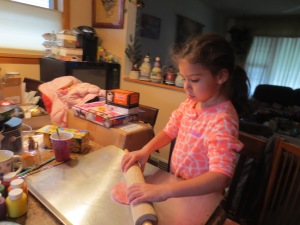
She kneaded the red paint into the dough all by herself.
She kneaded the red paint into the dough all by herself.

colored salt dough

Colored salt dough

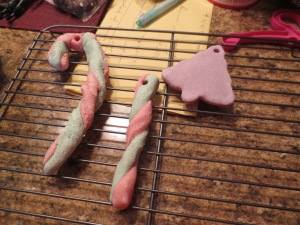
We used the plain dough to make a handprint.  She is giving the handprint to daddy as a surprise Christmas present.  We used the colored dough to make candy canes, and used cookie cutter to cut out ornaments.
IMG_9328 IMG_9327

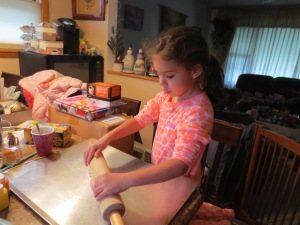
When making candy canes, we just rolled the dough with our hands to make two long worms and twisted them together.  In order to use the cookie cutters, we rolled the dough with a rolling pin, then cut out our shapes.  Once we were all done, we baked them in the oven at 200 degrees for 2 hours.  When we took them out, they were hardening up.  Not super hard, but hard enough.  After that, we just set them out so they could air dry.  Some recipes will tell you to bake them for longer times, like 4 hours, but we simply don’t have the time for that.  The way we did it worked fine.

IMG_9329 IMG_9307

After letting them sit for 24 hours, we painted them.  Painting them is optional, especially if you used colored dough.  It adds to the fun of it to let the kids paint them.  Kayla enjoyed being able to paint the handprint for her dad, and ornament gifts for friends.  She was very proud of herself.  Right now, our first batch of ornaments have been painted and are ready to be covered in a varnish.  If you’re painting the ornaments completely, a varnish isn’t necessary, although it does give them a nice glossy finish.  Not all of ours are painted, so we plan to put varnish on all of them to give them a finishing touch.  Plus, this will make them last longer.  These are keepsakes we want to have for years to come.

IMG_9315 IMG_9320 IMG_9306

Another thing we tried was using a cookie mold tray/pan.  The pan has Christmas molds built in, as you can see in the picture below.  We just put the dough into the molds and baked it.  Halfway through baking, I pulled it out and popped the dough ornaments out of the molds.  I then added the ornaments to the baking sheet with the other dough ornaments we were baking to let them finish hardening.  I’m sure I could have baked them in the molds for the entire time, but I didn’t want to take the chance of them getting burned or stuck in the molds.  These dough ornaments came out great.  We were impressed by the detail.  They will be fun to paint.
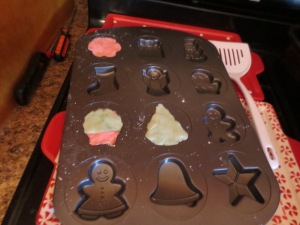
IMG_9331

get-attachment (1)

So far, we’ve done 3 batches of salt dough ornaments.  On the last batch, we recruited my husband to do some with us.  He wasn’t exactly thrilled to join in, but he humored us.  I’d like this to be a new family tradition.  Something we can do together every year.  My husband tends to only like to do things that were traditions in his family, and he loves to do stuff WITH his family.  Trying to get him to create new family traditions with me and our daughter can be a challenge at times, but it’s worth the effort.  In the end, he made a few really nice dough ornaments that should look great on the tree.  I think it is important to create holiday traditions with your family.  It is nice to carry on traditions that you grew up with, which are important to us, but it’s also important to create NEW traditions with your significant others and your kids.  It’s all about creating memories.

IMG_9339 IMG_9340 IMG_9342 IMG_9344 IMG_9346 IMG_9347 IMG_9348 IMG_9349 IMG_9356

In our last batch, we made some cinnamon salt dough.  This dough gives the ornaments a lovely cinnamon scent.  When we paint them tomorrow, we are going to add a touch of cinnamon to the paint to enhance the cinnamon scent.  What I loved most about the cinnamon dough was that it gave the ornaments a beautiful country Christmas look.  I wouldn’t mind keeping these natural and not painting them, but my daughter is looking forward to painting them tomorrow.

Cinnamon Salt Dough Recipe

1 cup Flour

1/2 cup Salt

1/2 cup Cinnamon

3/4 cup warm water

The recipe I used said you don’t need to bake them, just let them air dry for 24 hours.  We baked ours along with our other salt dough ornaments and they came out great.  200 degrees for 2 hours.
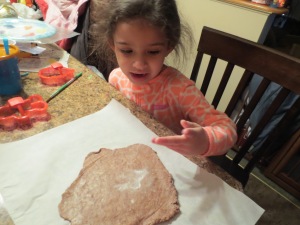
IMG_9336

Cinnamon salt dough

The cinnamon salt dough was probably my favorite, but my daughter and husband preferred the colored dough.  I could see the beauty in the simple cinnamon dough ornaments.  They look very traditional to me.  Something you would have seen hanging on trees years ago.

We plan to play around some more with our dough ornaments.  Hopefully, we’ll be able to try making some with beads tomorrow.  If I have time, I will try to type up a quick post with pictures of the dough ornaments with beads.

Happy ornament making!
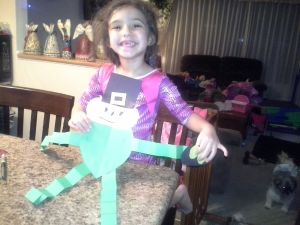
Leave a comment »

Frozen Fridays

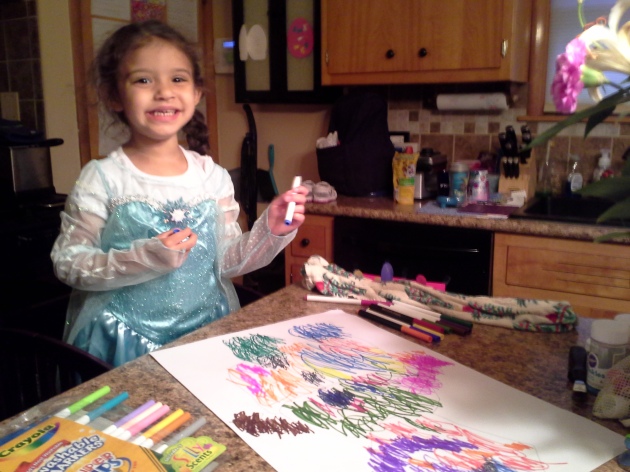
As with many kids right now, especially little girls, my daughter loves everything Frozen. We have the dvd, the cd in the car, posters on the wall, several shirts, gym shoes, a backpack and lunch bag, an Elsa costume, coloring books, reading books, dolls, etc. The list goes on and on. Whatever we can find in the stores and online that is reasonably priced, we buy it. Although she has only watched the movie a handful off times, she has listened to the cd more times than I could possibly remember.

Due to this current obsession, I decided to do “Frozen Fridays” over the summer. My husband is always out fishing on Friday nights during the summer, and my daughter and I are free to do whatever we want for the evening. Since I am a stay at home mom, some Fridays can seem to last forever. My solution is to find activities for us to do to keep us busy. Each Friday, I would come up with different Frozen themed activities for us to do together. Although at times it has been a lot of work, it has also been fun.

Here are a few of our Frozen Friday activities:

Make your own Olaf

20140711_200709

20140711_195013

20140711_200719

20140711_201034

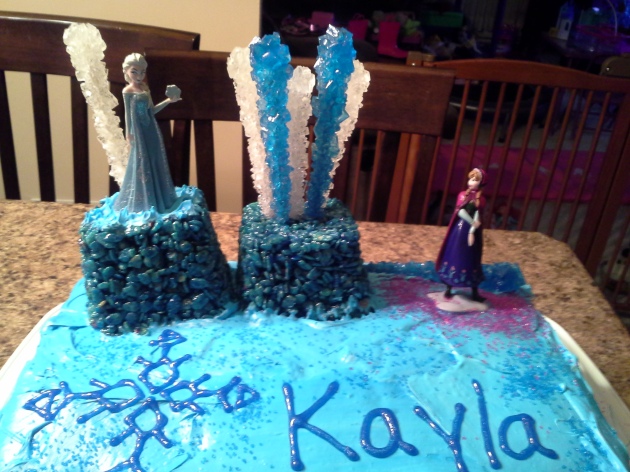
Make your own Frozen Cakes

20140711_204434

20140711_211615

20140718_202657

20140718_202609

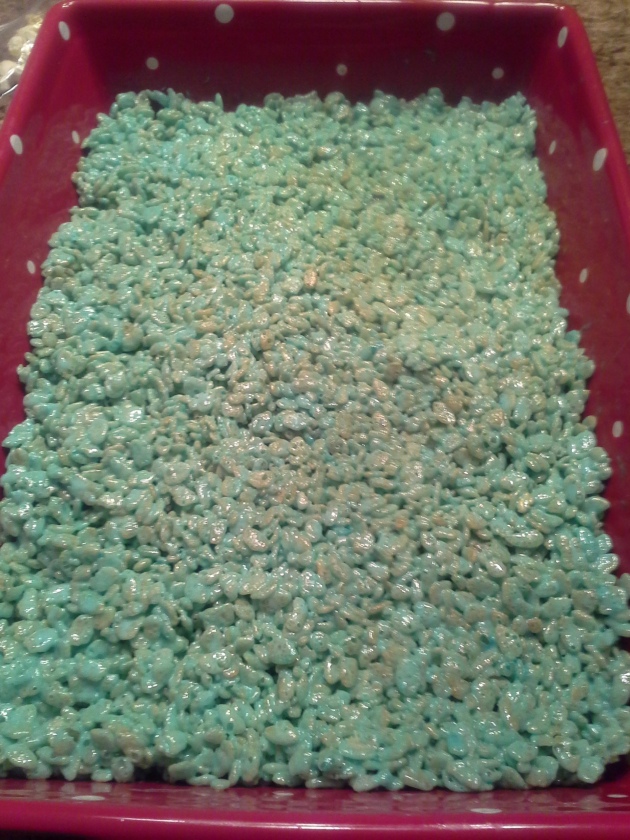
Make Frozen Rice Crispie Treats

20140712_183741

20140718_205355

Frozen Jello

20140718_205418

20140718_205805

Snowball Cookies

20140815_204429

20140815_203750

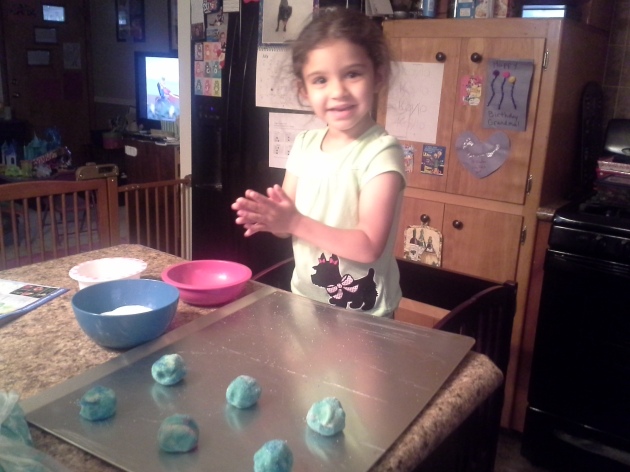
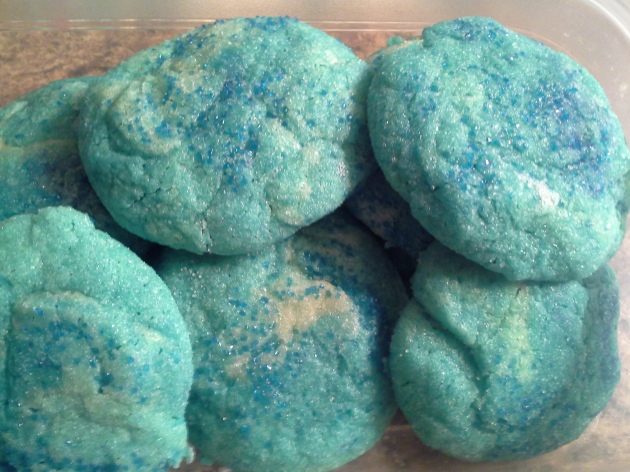
Blue Frozen Sugar Cookies

20140725_193654

20140725_202608

Those are just some of our Frozen Friday activities. What type of Frozen activities have you done with your kids? I would love to hear about them, and see pictures.

Leave a comment »

Once Again, We’re Counting Down to Disney

It’s been awhile since I’ve put up a new post.  I’ve had plenty of things I’ve wanted to share, but little time to sit down and type up a post, along with pictures.  I promise to do better.  With the summer coming to an end soon, it should be easier to find some time to get this blog rolling again.  

IMG_6724

Once again, my daughter is counting down to our trip to Disney World.  I was able to get her to hold out a little longer this year before putting up our chart, but eventually I had to give in and let the countdown begin.  We are currently under 90 days till our trip (80 to be exact), and I am in full on planning mode.  I am trying to prepare a loose itinerary, plan out what rides I want to try to get fastpass+ for, make any changes to our Advanced Dining Reservations, and make any arrangements that have yet to be made.  Sometimes it feels like a daunting task.  But other times…it just fuels the excitement.

20140810_231253

I’ve been going to Disney World for as long as I can remember.  I have wonderful memories of going there as a kid with my family.  Now as a parent, I am thoroughly enjoying passing down my love for Disney World to my daughter.  (I was even able to get my husband to appreciate Disney World when we went last year.)  I loved seeing her eyes light up when she saw her favorite characters in person, and when she got to go on the various rides for the first time.  The memories are priceless.

Over the course of the next few months, I will be doing multiple Disney themed posts.  If you are not a Disney fan, please bear with me.  If you are a Disney fan, please feel free to post comments sharing your own Disney experiences, memories, and tips.  Remember, everything I post here are just my opinions, or from research I’ve done online, through books, and from my own personal experiences.  I do not claim to be an expert.  I am just another Disney fan that enjoys sharing my love for Disney with others. Come along on this magical journey with me.

IMG_4420

IMG_4424

IMG_4676

IMG_4690

IMG_4691

IMG_4694

IMG_4928

* Note: If you are interested in how I made the Disney Countdown Chart, please see my previous post from July 2013.

Leave a comment »

Countdown to Disney World Chart – A creative visual display

Countdown to Disney 012

I think I mentioned awhile ago that we have a vacation planned this year to go to Disney World. We’re taking Kayla there the week before her 3rd birthday.

My plan was to tell my daughter about our trip about 90 days in advance. It wouldn’t be too, too early, but it also would give me some time to explain to her exactly where we’d be going and what to expect. This will be her first time going on a plane, spending more than one night in a hotel, and going to large theme parks. She’s been to carnivals and a small kiddie theme park, but never anything this massive.

My plan didn’t work out. My mom decided to record an episode of Windy City Live (a Chicago-based show) where they went to Disney World. My mom was excited to show it to Kayla to get a reaction. Kayla was literally in awe of what she saw. She had tons of questions about this place called Disney World.

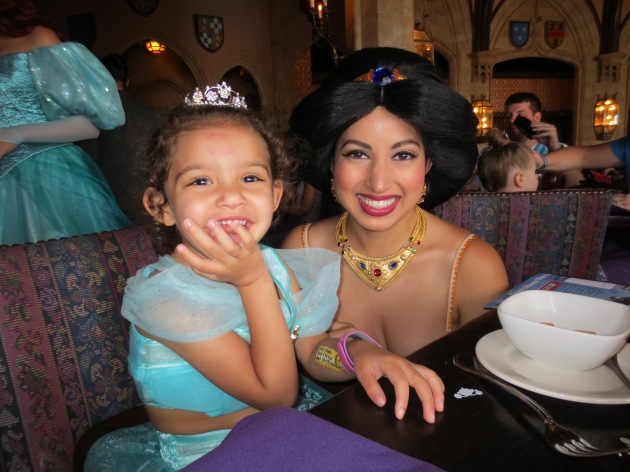
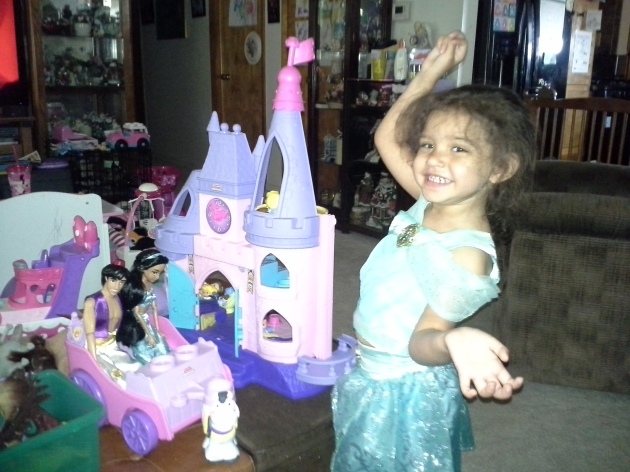
A few weeks after that, my sister and her family left on their vacation to Florida. One of their vacation destinations was Disney World. Kayla was ready to pack her bags and go with them. Not only was her favorite cousin leaving on vacation without her, but they were going to the same place she wants to go. She was devastated. For two weeks, all she talked about was how she missed her cousin, and that he went to see Mickey Mouse. This started her obsession with Disney World. She started asking to see books, to watch videos (on You Tube) of Disney vacations, and even grabbed some brochures while at the Disney Store. She asks me every single day if we’re leaving to go on vacation to Disney World today. Or tomorrow? And I’m not lying when I say that she started wearing her new princess Jasmine costume around our house all day. She even does forward rolls in this costume.

Dance, Gymnastics Class 1 Day 5, etc 071

I tried to show her a calender and explain that we have four more months until it’s our turn to go on vacation to Disney World. The calendar seemed to be too confusing for her. She didn’t like that there were multiple pages to look at that she had to flip up to see the day when we’re leaving. That’s when I decided to look into Disney Countdown calendars. I thought there would be tons of them to buy, but I was having a hard time finding one to buy or print from the internet. I did, however, find a ton of cute ideas on pinterest. This is when I decided to just be creative and make my own.

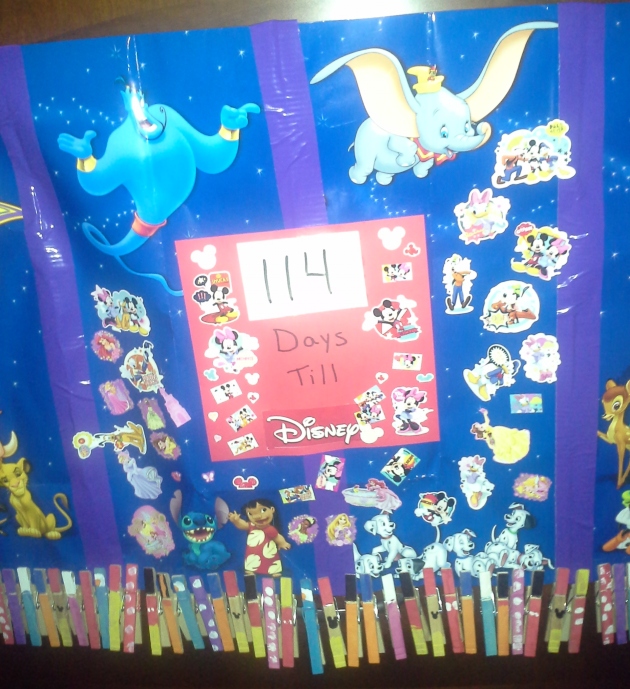
I looked around the house to see what types of Disney stuff we have laying around, then I decided what I would need to buy. I cut up an old Disney gift bag that Kayla had from one of her birthdays. I used that to create a big board. Kayla and I used her paint to paint clothes pins with the colors of Disney character’s clothing. (The main characters like Mickey, Minnie, Pluto, Donald, Daisy, and Goofy.) We painted enough clothes pins for each day we still have before we leave on our trip. I then used a 12 x 12 sheet of red scrapbook paper to create a little sign to represent the number of days we have left until our vacation. I used a small piece of a dry erase board to attach to the sign so we’ll be able to change the number of days left on a daily basis. I then let Kayla decorate the sign and overall board with some of her Disney stickers. Now we have a really big board/chart that clearly displays how many days we have left until our vacation begins.

Countdown to Disney 005

Countdown to Disney 002

Countdown to Disney 006

Countdown to Disney 009

Kayla was able to be completely involved with making the board, which she is super proud of right now. It will show her the exact number of days we have left on a daily basis, and she will be able to remove one clothes pin each day. The clothes pins will help her visually see for herself that we still have a long time to wait, but she will also be able to see the number of clothes pins go down each day. This will be a great visual learning tool for her, and it will give us an opportunity to work on counting and numbers. I know she will feel better when she sees the number of clothes pins decreasing.

We even made a special clothes pin to represent our last day before we leave. I know she will be super excited when we finally get to that clothes pin.

Countdown to Disney 011

I hope this idea inspires some other parents out there to make their own creative countdown charts for upcoming vacations, events, or holidays.

Countdown to Disney 013

Countdown to Disney chart with Kayla

Dance, Gymnastics Class 1 Day 5, etc 069

Dance, Gymnastics Class 1 Day 5, etc 070

2 Comments »

Easter Projects, Egg Hunts, and a New Car

I have a few partially written blog posts that I just haven’t had the time to complete. It’s been a busy couple of weeks. We bought a new (used) car last week. It took a few weeks of research, looking up cars at dealerships, and going in for test drives before I decided on the one I really wanted. My husband traded in his very old Pontiac Grand Am, and he is now driving my old car, a Chevy Trailblazer. I am now the proud owner of a 2012 Dodge Journey SXT with AWD, and only 26,000 miles on it. So far, I love my new car. It’s one of those crossover vehicles that kind of looks like a SUV, but it handles like a car. It has plenty of storage space and can seat up to 7 people. This thing is about as close to a minivan as I’m ready to deal with at this point in my life. I’m looking forward to having this car for the next 5-10 years.

Kayla's face and my car 011

Kayla's face and my car 013

Since Easter is right around the corner, I’ve been doing Easter projects with Kayla and my nephew. Today, they did a do-a-dot egg picture, a chick hatching coloring page, and they decorated foam bunnies. Kayla already did a foam bunny last weekend, but she was still excited to do another one with her cousin. They always like doing projects together.

0327131330-00

0327131339-01

0327131339-02

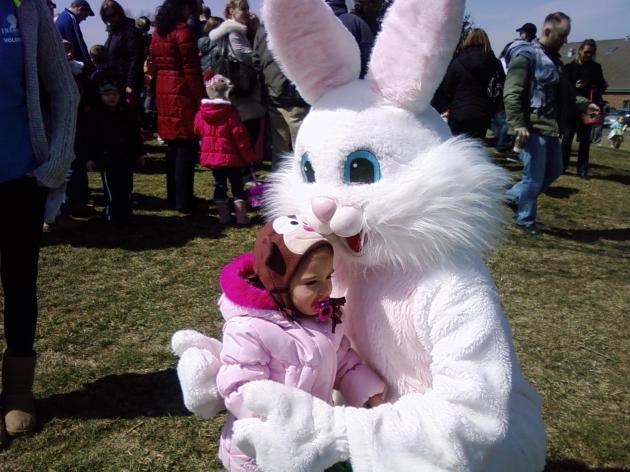
Last weekend, I took Kayla to an Easter Egg Hunt hosted by a local park district. The weather was actually decent outside that day, so it was great to get out and enjoy some fresh air. The only thing Kayla was really interested in was going up to the Easter Bunny and giving him/her a big hug. As soon as she saw the bunny, she kept pulling me until we got close. Then after she saw the bunny once, she had to go back again before we left. I was happy to see her excited, since last year she was a little unsure about the extremely tall bunny we saw at a local mall. Of course, the bunny from last year wore glasses and clothes, so maybe that seemed odd to her. This bunny was just a simple white bunny with no attire. Maybe she prefers the Easter Bunny to be in his/her birthday suit. Who knows.

0323131342-00

0323131346-00

0323131348-00

This has been a fun week preparing for Easter. We’ll be attending another Easter Egg Hunt this weekend with some of my husband’s family members. Kayla should have a blast hanging out with some of her cousins she doesn’t see as much. I’m currently trying to make out my grocery list so I am ready to start preparing food Saturday night. Thankfully, my sister has offered to host Easter at her house this year, so all I have to do is bring a few dishes. I loved hosting it last year, but we just have too much going on this year. Happy Easter!

Leave a comment »

Valentine’s Day Projects

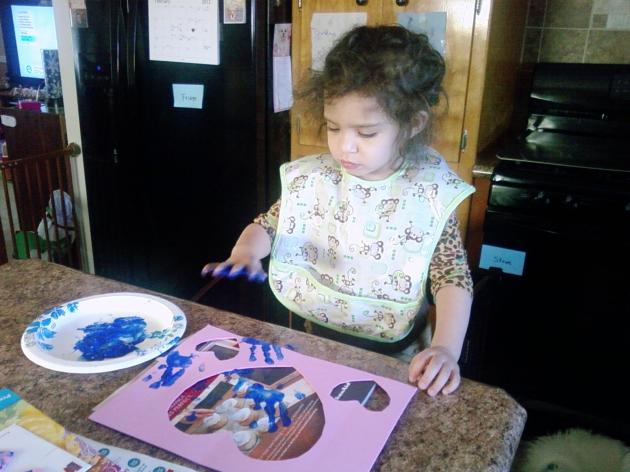
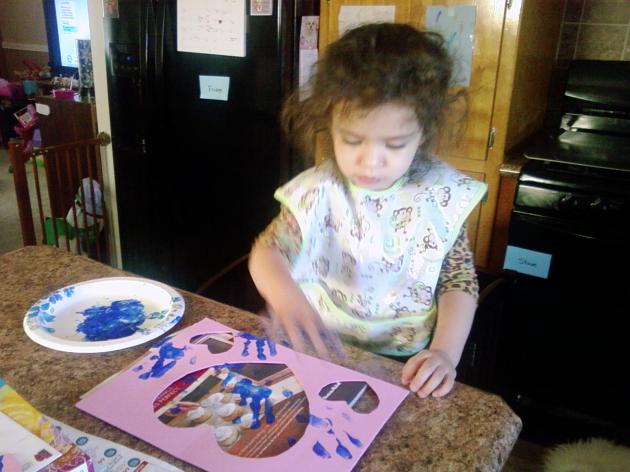
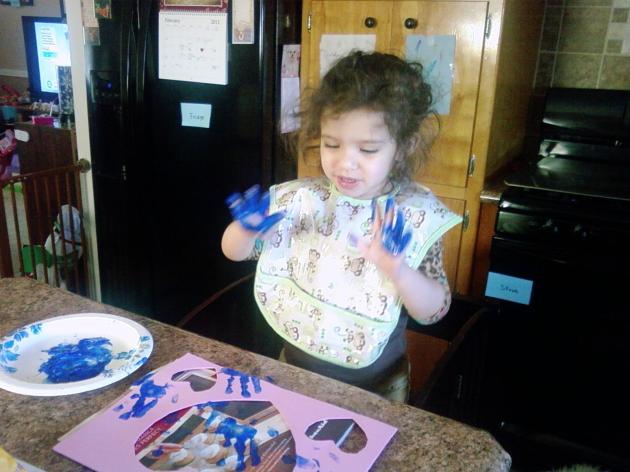
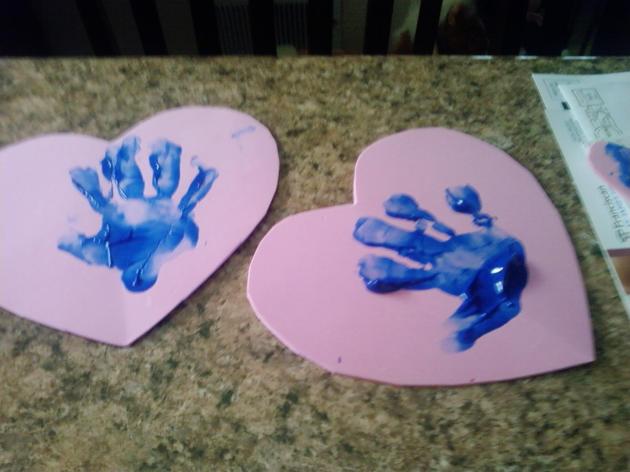
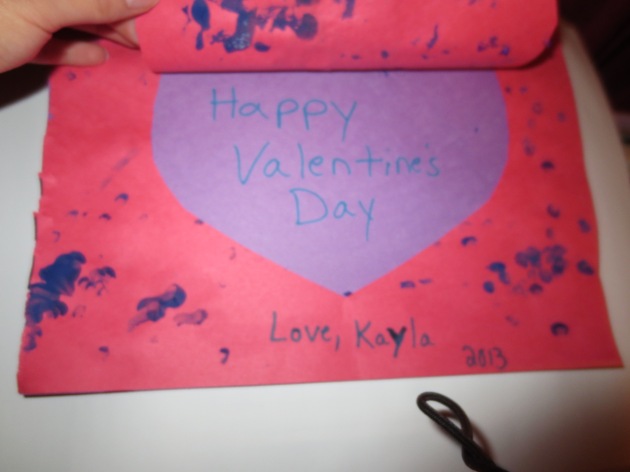
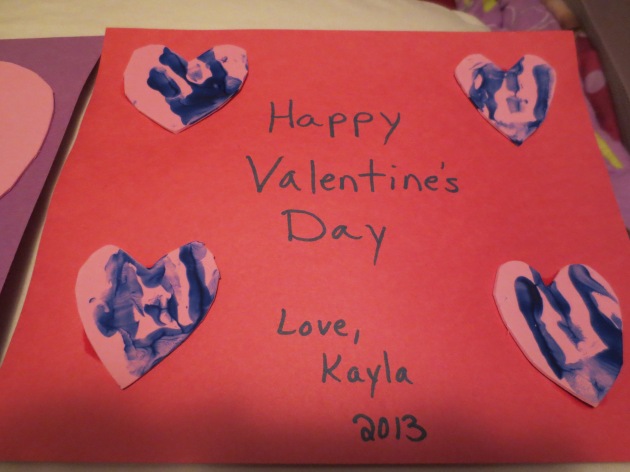
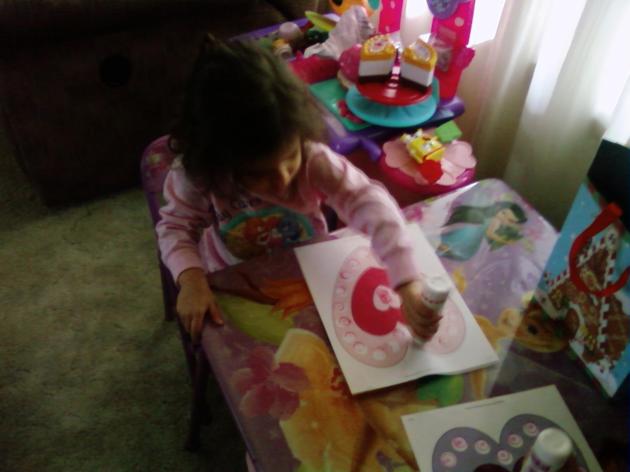
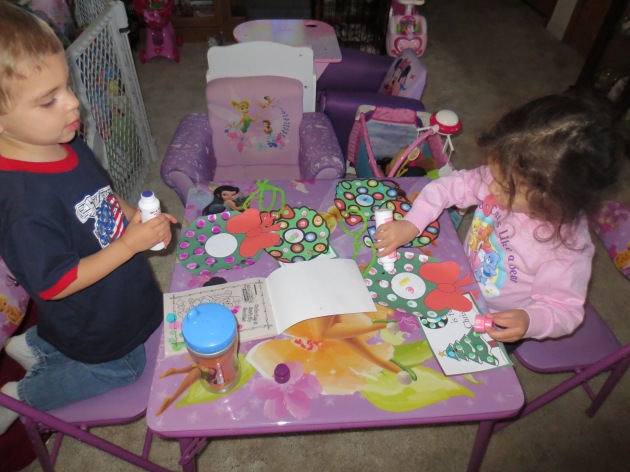
I may not be in a hopelessly romantic mood this year, but I still feel like it’s important to teach Kayla about every holiday that we celebrate. I put together some activities and projects for Kayla and my nephew to do over the last week. I think Kayla enjoyed doing the Finger-paint Valentines the best.

0213131337-00 (2)

0213131337-01 (2)

0213131337-02 (2)

0213131337-03 (2)

0213131338-00 (2)

0213131338-01 (2)

0213131339-00 (2)

0213131342-00 (2)

0213131342-02 (2)

0213131342-01 (2)

February 2013 022

February 2013 023

February 2013 027

February 2013 026

February 2013 025

February 2013 024

0207131349-00 (2)

0207131348-00 (2)

0207131347-01 (2)

0207131347-00 (2)

I hope everyone has a great Valentine’s Day. Spend it with your loved ones.

Leave a comment »

A Day of Christmas Crafts

Holiday crafts 2012 015

It’s holiday time and I love doing craft projects with my daughter and nephew to keep them busy.  They have fun, and it’s an easy way to teach them various skills.  It’s also a wonderful way to get them excited about the upcoming holiday.

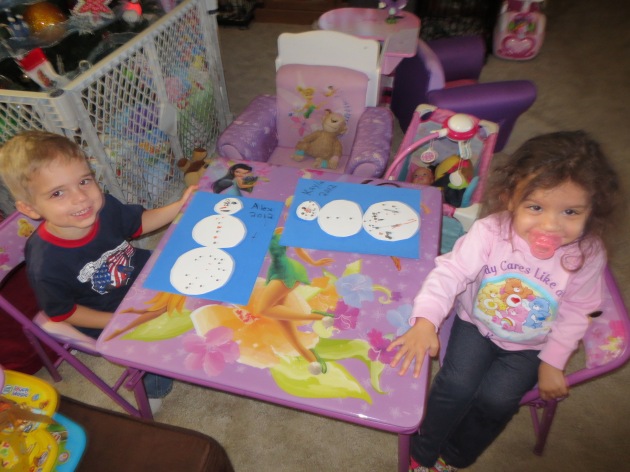
I prepared a few different projects for the kids to do today.  They did some do a dot art projects, made foam snowmen, and they decorated foam picture frames that we made ourselves.  Yeah, I know it was a lot for a 2-year-old and a 3 1/2-year -old to do, but I broke it up into two separate project sessions.  One before lunch, and one after lunch.

I printed out the do a dot sheets from some websites online.  I would happily give the sites credit, but I honestly don’t remember what sites I used at this point.  I tend to prepare for these projects when I’m overly tired.  One site I tend to use though is Confessions of a Homeschooler.  If you haven’t checked out this website before, please take the time to stop by her blog.  It is awesome.  The site offers a lot of ideas for homeschooling lessons and projects.  And what makes it even better is that you can print most of the stuff directly from her site.

Kayla and Alex started off the day doing do a dot art projects.  They made two wreaths, an ornament, and a letter sheet with a tree (C is for Christmas).  Kayla tends to lose interest with the do a dot projects after a few minutes, so I have to make sure to keep giving her different color markers in an attempt to retain her attention.  Thankfully, it worked today.

Holiday crafts 2012 006

Holiday crafts 2012 008 - Copy

Holiday crafts 2012 012 - Copy

Later on, they constructed their foam snowmen and worked on their foam picture frames.  They each did two picture frames.  One frame for a picture of Kayla, and one frame for a picture of Alex.  I made the frames into ornaments so they can hang them on the tree.  The kids were excited to be able to create their own personal picture frames.

Holiday crafts 2012 019


pic frame craft 002

The thing I really like about craft/art projects is that they don’t have to be perfect.  You don’t need to have the most expensive materials, and the kids don’t have to follow all the rules.  They can make it their own by doing things their own way.  Yes, I’m aware that when they are older they will need to learn to follow directions, which they do to a certain extent now, but it’s not absolutely necessary all the time.  I like to see them have fun with the projects and put their own mark on it.  Sure, they don’t always turn out the way I envisioned them in my head, but the kids are so proud of them.  That’s all that really matters.  Happy crafting!

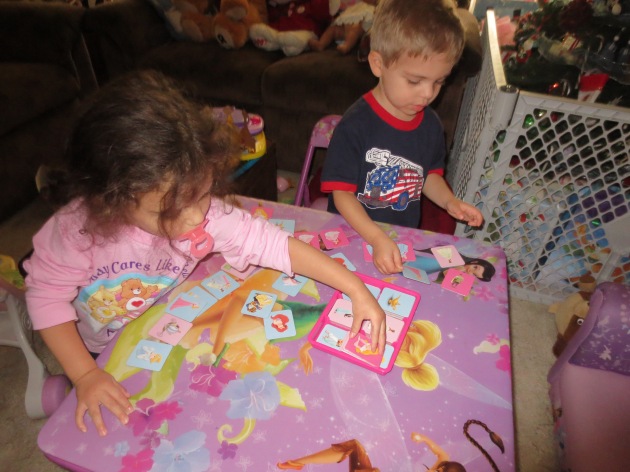
The kids ended our Christmas crafting day with a game of memory.  Well...all they do is find matches, but they think they are playing the game.  :)

The kids ended our Christmas crafting day with a game of memory. Well…all they do is find matches, but they think they are playing the game. 🙂

Leave a comment »