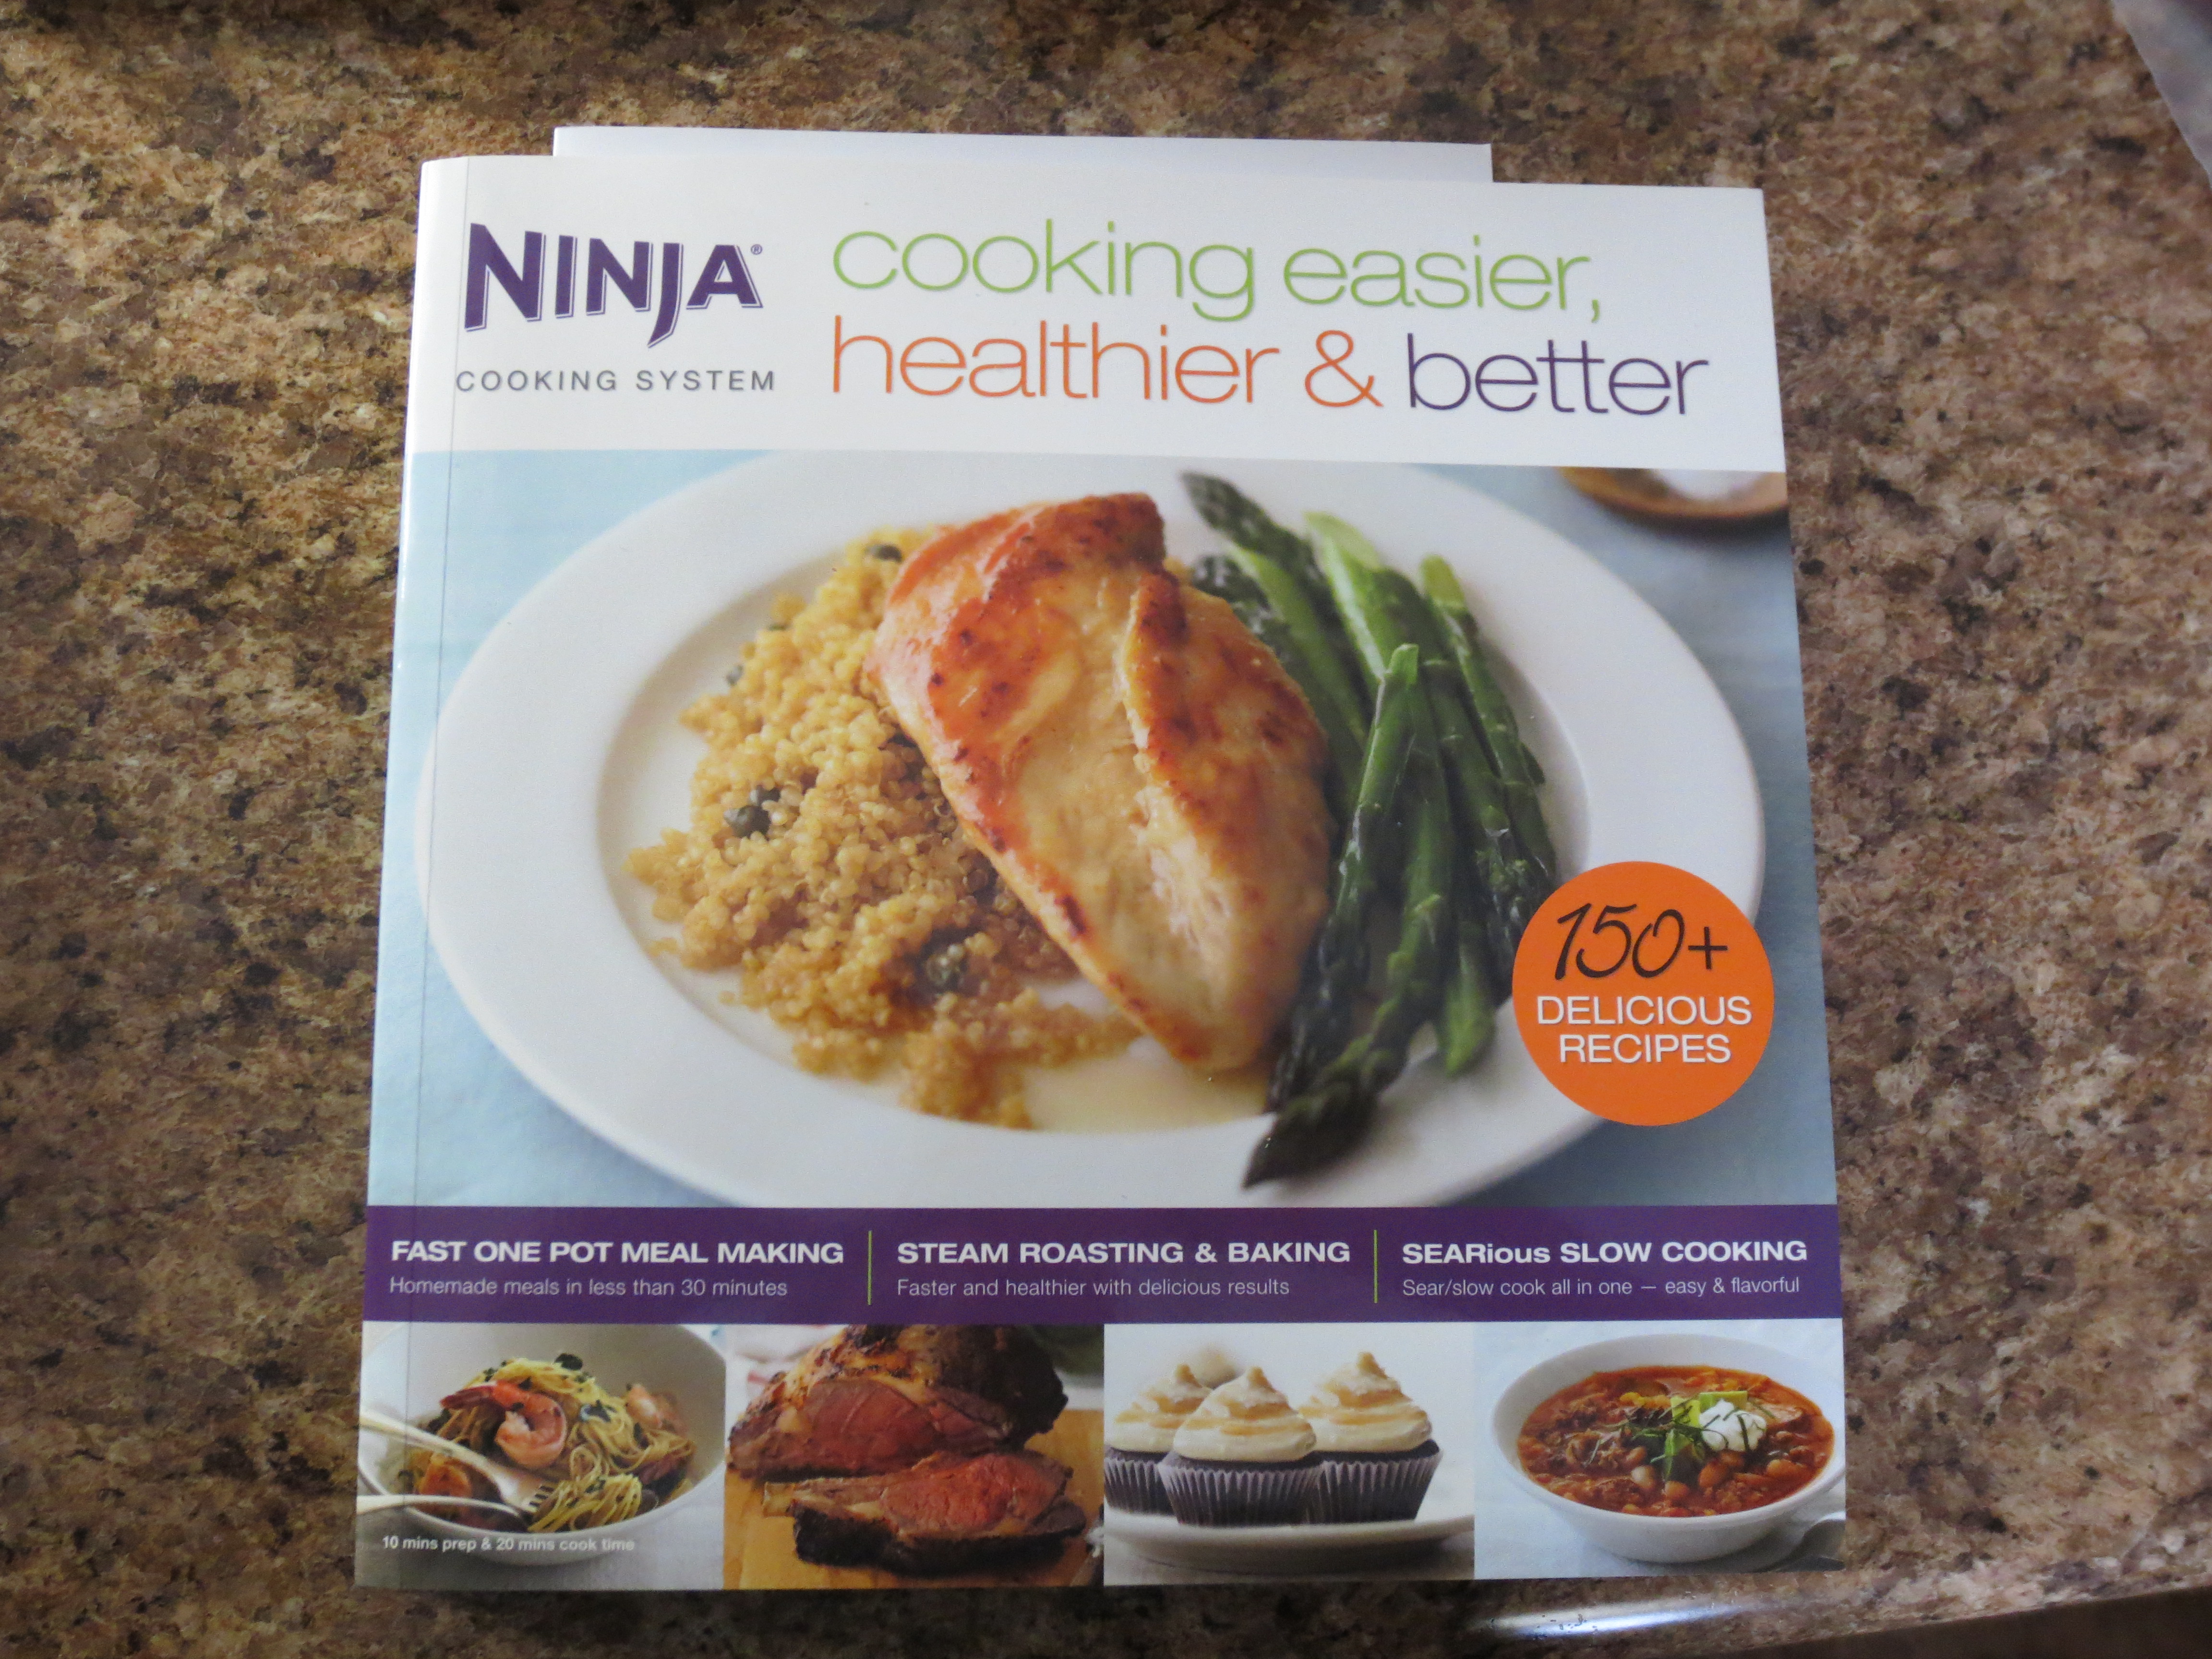
I got my new kitchen toy this week, and I was excited to finally get to use it. My newest kitchen appliance is the Ninja 3-in-1 Cooking System. The Ninja 3-in-1 combines your stove top, oven, and slow cooker into one appliance. It can sear, bake, roast, steam, saute, simmer, and slow cook all in one pot.
The Ninja has a 6 quart cooking pot. It has a programmable slow cooker, a digital oven control mode, and the stove top function has low, medium, and high settings. It comes with a variety of accessories. The included accessories are a roasting rack, a multipurpose baking pan, a loaf pan, a mini muffin pan, and silicone oven mitts (that just cover your hands…fingers and palm). The accessories can all be conveniently stored inside the unit. Depending on where you buy the Ninja, it also comes with a cookbook with 150 recipes. The Ninja is currently sold at Bed, Bath, and Beyond, Walmart, and through QVC. I’ve heard that if you buy it from BB&B or Walmart, you will need to purchase the cookbook separately.


This unit is quite large. I was half expecting it to be around the same size as my old slow cooker, but this thing is a beast in comparison. This is not a small, cheap kitchen appliance. The Ninja is a good quality piece of kitchen equipment. The approximate measurements of the unit with handles and dials is 18″L x 13″W x 8-1/4″H; cord 24″L. So be forewarned that this does take up quite a bit of counter space if you plan to keep it out like we do.
The cooking pot is dishwasher safe, but the accessories are hand wash only. That’s not a big deal with me, but I know that can be off-putting to some people, so I thought it was worth mentioning. I cleaned the cooking pot by hand and it was super easy to clean. The pot has a non-stick coating, so it took me about two minutes to clean it in the sink. I didn’t even bother putting it in the dishwasher. I haven’t used any of the accessories yet, but I’m not concerned about having to clean them by hand.
There is a vent on the cover of the pot. Depending on what setting you’re using, you may want to watch the liquid in your pot. The vent will allow liquid to evaporate some while cooking, which may require you to add more liquid. I didn’t have this issue at all with the recipe I used, but I think it is worth pointing out so no one burns their food on accident.
The moment I got the Ninja, I started flipping through the cookbook. I was happy to see that it has a lot of recipes I’d like to try out. Most of the recipes are simple and don’t have a bunch of ingredients. As a mother of a toddler, I am very appreciative of quick and easy recipes. I don’t have much time to spend slaving away in the kitchen. And now that Kayla is getting more interested in helping out in the kitchen, I prefer to do stuff that gets us in and out of the kitchen fast. There is nothing like having a busy little toddler trying to help out in the kitchen when you’re trying to do 5 things at once. The easier, the better.
After going through the cookbook a few times, I decided to start with pulled pork. I make pulled pork all the time. My favorite is BBQ pulled pork. I love making it in a slow cooker because it comes out so tender and you have the juice/liquid to pour over the meat. It is one of my top 25 comfort foods, so what better way to test out my new toy than to make pulled pork.
The cookbook has a recipe for Pulled Pork and Apple Cider Sliders. I thought it was an interesting twist on a pulled pork sandwich. I also took the cookbooks suggestion about preparing sweet potato fries to go with it. I followed the cookbooks instructions exactly (well, almost) and it came out great. No complaints in this household.
I went to the grocery store this morning to pick up all the ingredients I would need, as well as stuff for other recipes for later this week. I was eager to start cooking. I really wanted to sear the meat first, since I have that option with the Ninja, but decided to stick to the recipe exactly as it is written. That way I can not only tell all of you about how the Ninja works, but I can share my thoughts and opinions about the recipes in the cookbook.

Pulled Pork and Apple Cider Sliders Recipe
– 1 boneless pork shoulder roast (3-4 lbs)
– salt
– ground black pepper
– 2 teaspoons paprika
– 1/4 cup spicy brown mustard
– 1/4 cup packed brown sugar
– 3 cloves garlic, minced
– 1 cup apple cider or apple juice
– 1 package slider or mini sandwich buns (12 count)
Season pork with salt, black pepper, and paprika. (The cookbook does not state how much salt or pepper to use, so it really depends on how much you want to use.) Stir mustard, brown sugar, garlic, and cider/juice in the pot. Add pork and turn to coat in mixture.

Pork going into the pot to start cooking.
Set to SLOW COOK HIGH for 5-6 hours (I used a 5 lb pork shoulder roast so I cooked it for 6 1/2 hours.) Cover and cook until pork is fork tender. Try not to lift the lid while you’re cooking because it can add time to your overall cooking time. If you’re like me though, you won’t be able to resist checking on it a few times, especially since the lid isn’t glass. It’s impossible for me to not check on things at least once.

Pork ready to be shredded.
Using two forks, shred pork in the pot. Spread additional mustard on buns if desired. Divide pork mixture among buns and serve.
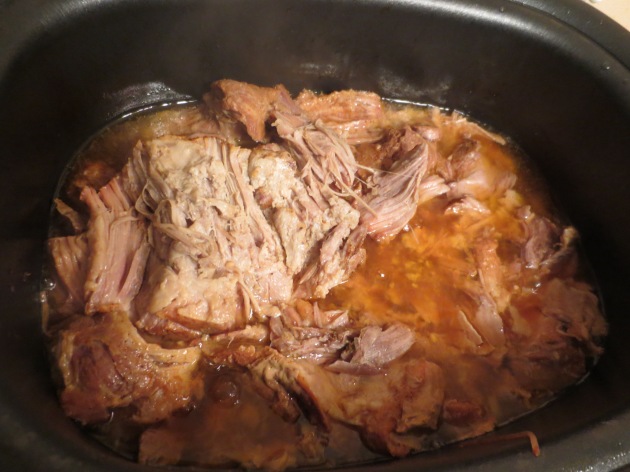
In the process of shredding pork.

Pork after it’s been shredded.
Since I used a bigger roast, I shredded my pork at about 5 1/2 hours, then let it continue cooking in the juice for the last hour. When I assembled my sliders, I poured just a little bit of the juice over the meat on the bun. I think this made a world of difference. Don’t add too much or your bun will get soggy. A little juice will go a long way. I opted not to put mustard on my bun. I just added a dill pickle to my sandwich and I was a happy camper. From what I was told, the sandwiches with the mustard added were quite tasty too. I just wasn’t in a mustard kind of mood.


I was very pleased with the outcome of this meal. It is easy to make and tasted great. I didn’t have any issues at all. The liquid didn’t evaporate from the pot. The pork was tender and had a nice, light flavor. Since it was a slider, it was easy for my daughter to try to eat. Nothing stuck to the pot, and the pot was a breeze to clean. The unit is pretty straight forward to use. If you’ve used stoves/ovens and slow cookers before, you won’t have any problems using the Ninja. If you’re a beginner, this will be quite easy to understand. I think even my husband could figure out how to use this, and he rarely cooks.
At this point, I would definitely recommend this cooking system to my family and friends. It is a wonderful idea to have a unit that can cook in various ways, and all without heating up your house. No more using multiple pans to cook, and feeling like you may pass out from the heat of the oven. This summer, I plan to use my Ninja so I can avoid using my stove/oven. This is a wonderful product for busy moms who want to be able to prepare simple and easy meals. To make this unit even more appealing is that you can use it to cook healthier meals for your family. Like steam baking a cake and only having to use half the oil. Yes, I said it. Only HALF the oil you would normally use in a cake.
I have four more meals planned for the next few days. I will keep you posted on how they turn out. I’m excited to try out a few more recipes.