When I was little, my best friend’s mom made beautiful salt dough ornaments to sell at craft shows, and to sell to friends and neighbors. I remember us having various ornaments that she made, and this beautiful fake blueberry pie that looked exactly like a real pie. I was always impressed that she could make this stuff in her own kitchen. One year, she even let my friend and me make some ornaments with the salt dough, just for fun. It was something I always wanted to do on my own when I grew up.
Fast forward over 20 years, and my friend is no longer with us (she was killed by a drunk driver when we were in college), but I still remember the wonderful salt dough ornaments that her mom used to make. I send her mom and dad a Christmas card every year. This year when I was working on my Christmas cards, I decided that I would try my hand at making some salt dough ornaments with my daughter. Kayla is 4 years old now, so she is old enough to do a lot of it on her own. I know my ornaments won’t be quite like my friend’s mom’s ornaments, but they can still be special.
My daughter and I started out by using a very basic salt dough recipe. (There are tons of slightly different recipes on the internet, but this one worked for us.)
Salt Dough Recipe
2 cups Flour
1 cup salt
1/2 cup water, and add more water as needed
We mixed the ingredients together in a bowl and kneaded it until it was the right consistency. Keep adding water little by little until the dough is the way you want it. If it gets too watery…sticky…add a little more flour.
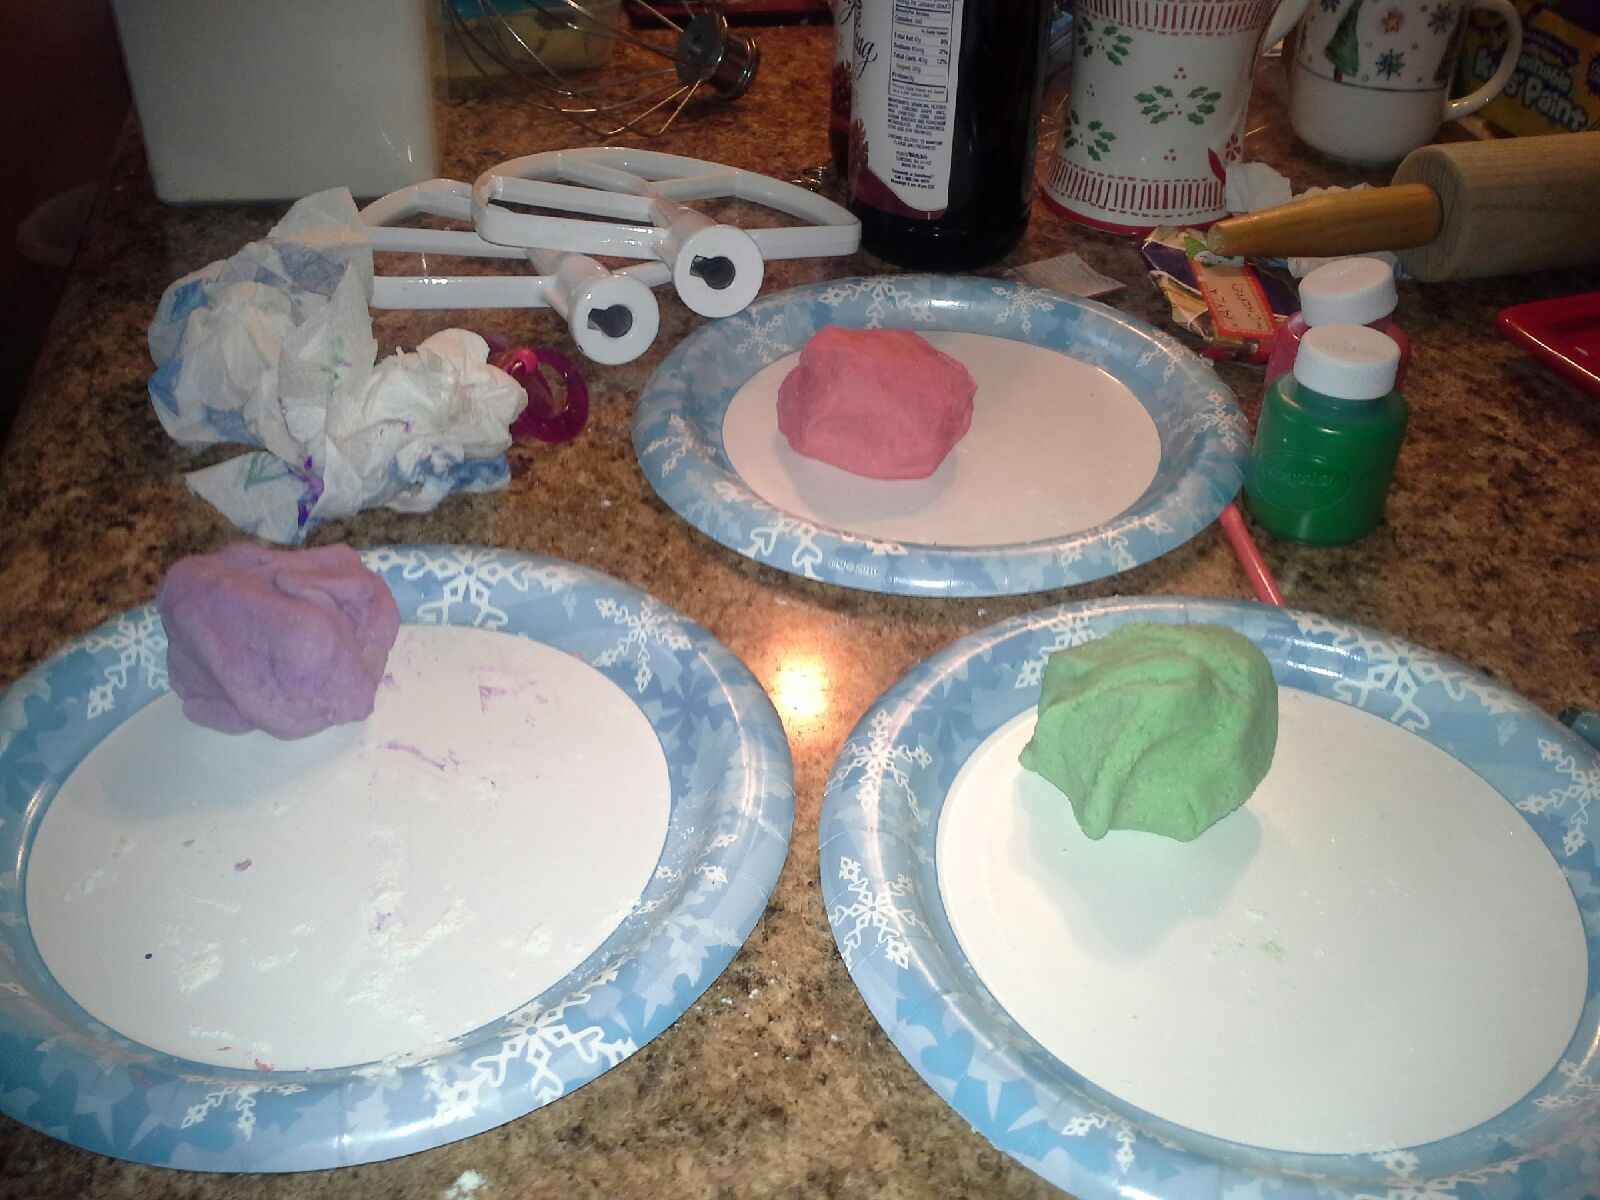
Once the dough was just right, we divided out the dough. Some of it we kept as is, and the rest we used to make colored dough. We used Crayola kid’s paint to color the dough. We made red dough, green dough, blue dough, and purple dough. You can do whatever colors you want. We were trying to stick to Christmas colors, and we also did purple so we could make a special ornament for one of our friends. We put a dab of paint on a ball of dough, then kneaded the paint into the dough until it was the color we wanted.
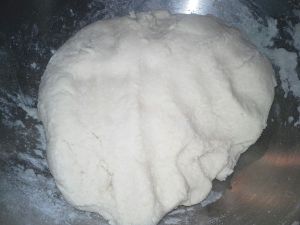
Plain salt dough

Green dough

Kayla working on making red dough.

She kneaded the red paint into the dough all by herself.
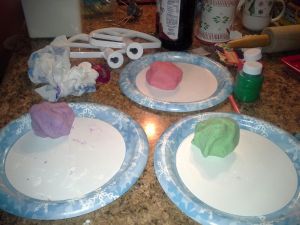
Colored salt dough
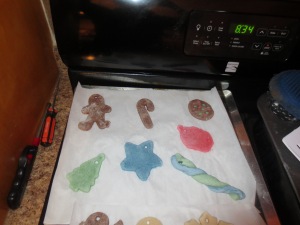
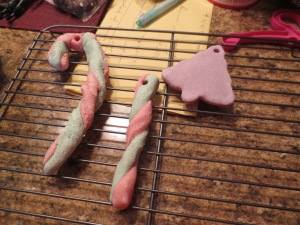
We used the plain dough to make a handprint. She is giving the handprint to daddy as a surprise Christmas present. We used the colored dough to make candy canes, and used cookie cutter to cut out ornaments.
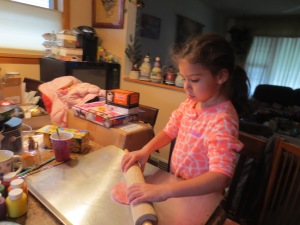
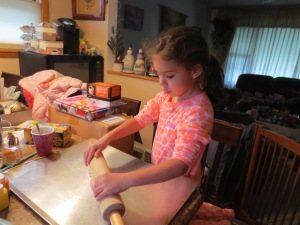
When making candy canes, we just rolled the dough with our hands to make two long worms and twisted them together. In order to use the cookie cutters, we rolled the dough with a rolling pin, then cut out our shapes. Once we were all done, we baked them in the oven at 200 degrees for 2 hours. When we took them out, they were hardening up. Not super hard, but hard enough. After that, we just set them out so they could air dry. Some recipes will tell you to bake them for longer times, like 4 hours, but we simply don’t have the time for that. The way we did it worked fine.

After letting them sit for 24 hours, we painted them. Painting them is optional, especially if you used colored dough. It adds to the fun of it to let the kids paint them. Kayla enjoyed being able to paint the handprint for her dad, and ornament gifts for friends. She was very proud of herself. Right now, our first batch of ornaments have been painted and are ready to be covered in a varnish. If you’re painting the ornaments completely, a varnish isn’t necessary, although it does give them a nice glossy finish. Not all of ours are painted, so we plan to put varnish on all of them to give them a finishing touch. Plus, this will make them last longer. These are keepsakes we want to have for years to come.


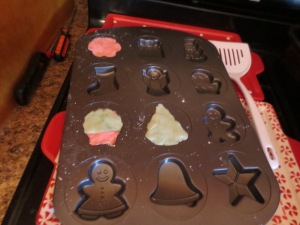
Another thing we tried was using a cookie mold tray/pan. The pan has Christmas molds built in, as you can see in the picture below. We just put the dough into the molds and baked it. Halfway through baking, I pulled it out and popped the dough ornaments out of the molds. I then added the ornaments to the baking sheet with the other dough ornaments we were baking to let them finish hardening. I’m sure I could have baked them in the molds for the entire time, but I didn’t want to take the chance of them getting burned or stuck in the molds. These dough ornaments came out great. We were impressed by the detail. They will be fun to paint.

So far, we’ve done 3 batches of salt dough ornaments. On the last batch, we recruited my husband to do some with us. He wasn’t exactly thrilled to join in, but he humored us. I’d like this to be a new family tradition. Something we can do together every year. My husband tends to only like to do things that were traditions in his family, and he loves to do stuff WITH his family. Trying to get him to create new family traditions with me and our daughter can be a challenge at times, but it’s worth the effort. In the end, he made a few really nice dough ornaments that should look great on the tree. I think it is important to create holiday traditions with your family. It is nice to carry on traditions that you grew up with, which are important to us, but it’s also important to create NEW traditions with your significant others and your kids. It’s all about creating memories.


In our last batch, we made some cinnamon salt dough. This dough gives the ornaments a lovely cinnamon scent. When we paint them tomorrow, we are going to add a touch of cinnamon to the paint to enhance the cinnamon scent. What I loved most about the cinnamon dough was that it gave the ornaments a beautiful country Christmas look. I wouldn’t mind keeping these natural and not painting them, but my daughter is looking forward to painting them tomorrow.
Cinnamon Salt Dough Recipe
1 cup Flour
1/2 cup Salt
1/2 cup Cinnamon
3/4 cup warm water
The recipe I used said you don’t need to bake them, just let them air dry for 24 hours. We baked ours along with our other salt dough ornaments and they came out great. 200 degrees for 2 hours.
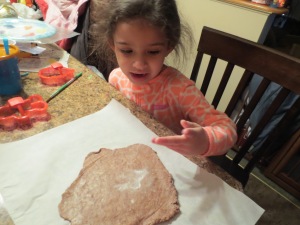
Cinnamon salt dough
The cinnamon salt dough was probably my favorite, but my daughter and husband preferred the colored dough. I could see the beauty in the simple cinnamon dough ornaments. They look very traditional to me. Something you would have seen hanging on trees years ago.
We plan to play around some more with our dough ornaments. Hopefully, we’ll be able to try making some with beads tomorrow. If I have time, I will try to type up a quick post with pictures of the dough ornaments with beads.
Happy ornament making!